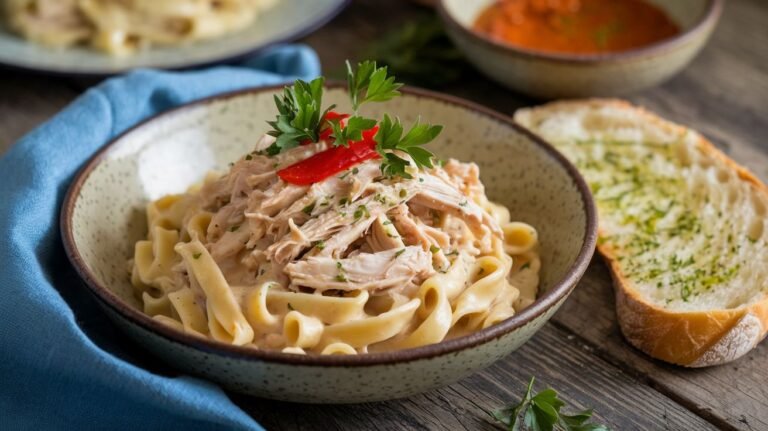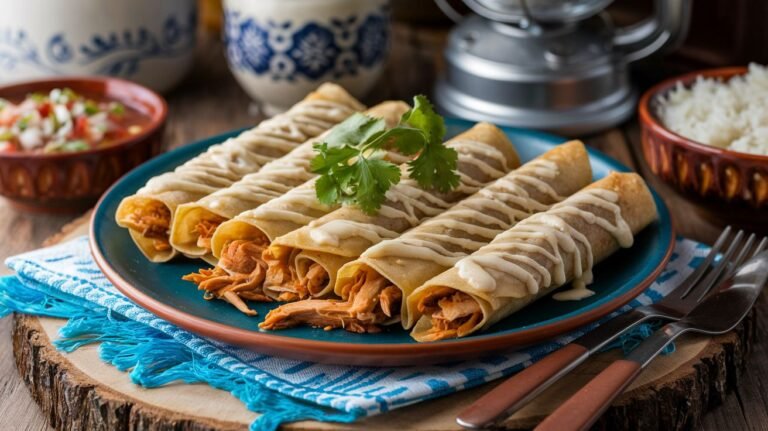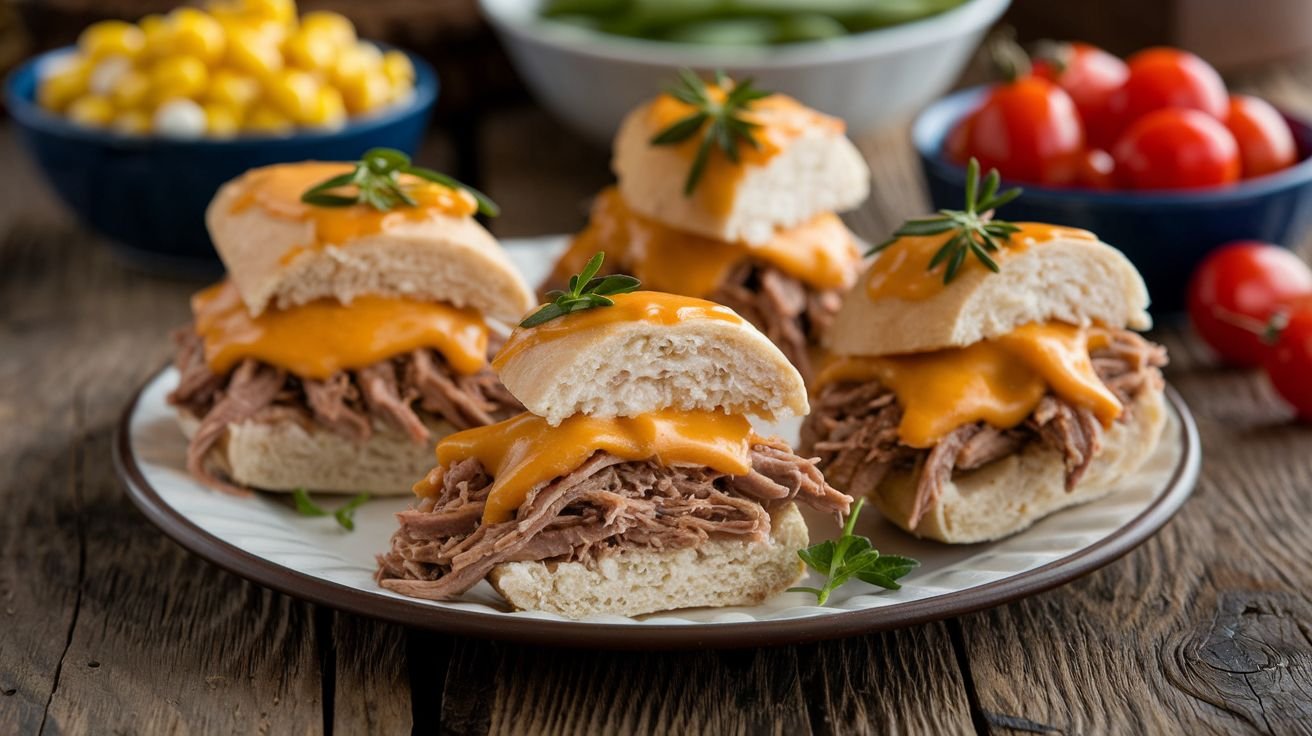
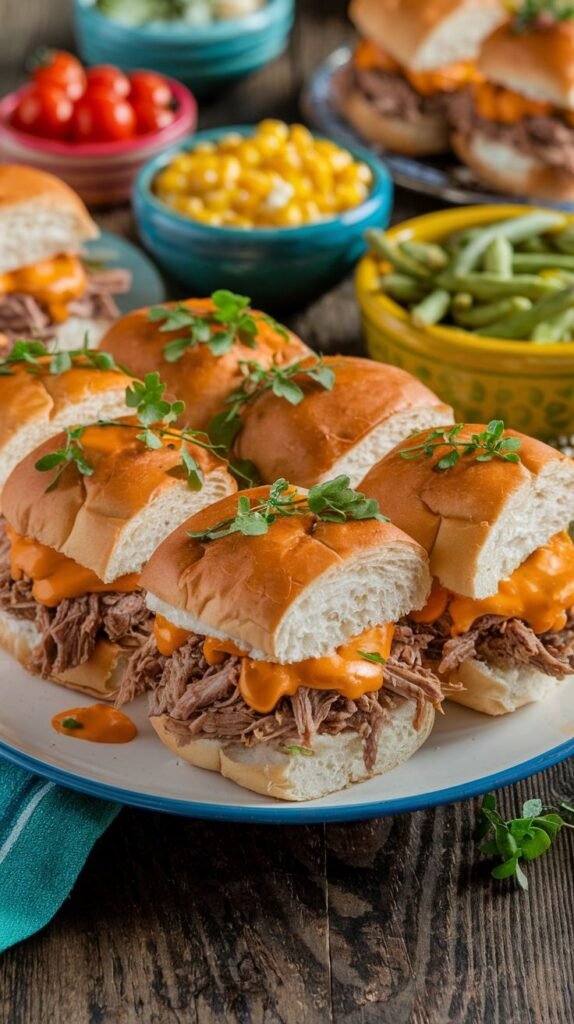
Shredded Chicken and Cheddar Sliders Recipe
There’s something so satisfying about mini sandwiches, and these Shredded Chicken and Cheddar Sliders are no exception! Whether you’re serving them for a family dinner, game night, or party appetizer, these little bites are guaranteed to be a hit. The combination of juicy shredded chicken, melted cheddar cheese, and soft slider buns creates a perfect balance of flavors and textures.
I first made these sliders when I needed a quick yet delicious dish for a potluck. I had leftover shredded chicken in the fridge and some cheddar cheese, so I decided to turn them into cheesy, baked sliders. They were gone within minutes! Since then, they’ve become a go-to for easy meals, tailgates, and party snacks.
These sliders are also super versatile—you can add your favorite toppings, change up the sauce, or use different cheeses. Let’s get into the recipe!
⏱ Recipe Time & Servings
| Preparation Time | Total Cooking Time | Number of Servings |
|---|---|---|
| 10 minutes | 20 minutes | 12 sliders |
🛒 Ingredients for My Shredded Chicken and Cheddar Sliders
- 2 cups cooked shredded chicken
- 1 cup shredded cheddar cheese
- 12 slider rolls (Hawaiian rolls work great!)
- ¼ cup barbecue sauce (optional)
- 1 tablespoon olive oil
- 1 teaspoon garlic powder
- 1 teaspoon onion powder
- Salt and pepper to taste
- Fresh herbs for garnish (optional)
⭐ Pro Tips for Success
- Use Hawaiian Rolls – Their slightly sweet flavor pairs amazingly with the savory chicken and cheese.
- Toast the Bottom Half – If you like extra crunch, bake the bottom half of the rolls for 5 minutes before adding the chicken and cheese.
- Mix Up the Cheese – Try using a blend of cheddar, mozzarella, or pepper jack for extra flavor!
- Brush with Butter – Before baking, brush the tops of the sliders with melted butter and garlic powder for a golden, flavorful crust.
- Make It Spicy – Add sliced jalapeños, a drizzle of hot sauce, or a sprinkle of red pepper flakes for some heat.
🍳 Tools Required
- Baking dish (9×13-inch recommended)
- Mixing bowl
- Sharp knife (for slicing rolls)
- Aluminum foil (for covering while baking)
- Pastry brush (if brushing butter on top)
🔄 Substitutions and Variations
| Substitution | Original Ingredient | New Flavor Profile |
|---|---|---|
| Swiss cheese | Cheddar cheese | A nuttier, milder flavor |
| Ranch dressing | Barbecue sauce | A creamy, tangy twist |
| Pulled pork | Shredded chicken | A smoky, BBQ-style slider |
| Brioche buns | Slider rolls | Richer, buttery texture |
| Hot honey drizzle | BBQ sauce | Sweet and spicy contrast |
⏳ Make-Ahead Tips
- Shred the chicken in advance – Store it in an airtight container in the fridge for up to 3 days.
- Assemble the sliders ahead of time – Cover and refrigerate, then bake when ready to serve.
- Freeze for later – Assemble the sliders, wrap them tightly, and freeze. Bake straight from frozen at 350°F (175°C) for 25-30 minutes.
🥄 Step-by-Step Instructions for a Perfect Shredded Chicken and Cheddar Sliders
Step 1: Prepare the Chicken Mixture
Preheat your oven to 350°F (175°C).
In a large mixing bowl, combine 2 cups of shredded chicken with ¼ cup of barbecue sauce (if using). Add 1 tablespoon of olive oil, 1 teaspoon of garlic powder, 1 teaspoon of onion powder, salt, and pepper to taste. Mix well until the chicken is evenly coated in seasoning and sauce.
If you prefer a saucier filling, you can add a bit more BBQ sauce or even a drizzle of ranch dressing for extra creaminess.
Step 2: Prepare the Slider Rolls
Take 12 slider rolls and slice them in half horizontally. Place the bottom halves in a greased 9×13-inch baking dish.
For extra flavor and crunch, you can lightly toast the bottom half of the rolls by baking them for 5 minutes before adding the filling.
Step 3: Assemble the Sliders
Spread the shredded chicken mixture evenly over the bottom halves of the rolls. Then, sprinkle 1 cup of shredded cheddar cheese on top of the chicken.
Place the top halves of the slider rolls over the cheese layer, pressing them down slightly.
Step 4: Bake Until Gooey and Golden
Cover the baking dish with aluminum foil and bake in the preheated oven for 15 minutes.
After 15 minutes, remove the foil and bake for another 5 minutes or until the cheese is fully melted and the tops of the rolls are golden brown.
For extra flavor, brush the tops with melted butter mixed with garlic powder before baking.
Step 5: Garnish and Serve
Once out of the oven, sprinkle the sliders with chopped fresh herbs like parsley or chives for a pop of color and freshness.
Serve warm and enjoy your cheesy, flavorful Shredded Chicken and Cheddar Sliders!
🍽 Serving Suggestions for Shredded Chicken and Cheddar Sliders
| Pairing Option | Description |
|---|---|
| Crispy French Fries | Classic pairing for sliders—salty and crunchy! |
| Coleslaw | Adds a fresh, tangy crunch to balance the rich sliders. |
| Pickles | A bright, acidic contrast that enhances the flavors. |
| Sweet Potato Fries | A sweet-savory twist that pairs perfectly. |
🥡 Leftovers and Storage Tips
- Refrigerate: Store in an airtight container for up to 3 days.
- Reheat: Warm in the oven at 350°F (175°C) for 10 minutes or microwave for 30-60 seconds.
- Freeze: Wrap assembled sliders tightly in plastic wrap and foil. Freeze for up to 3 months.
🥦 Nutritional Information and Benefits of This Dish
- High in Protein – Shredded chicken provides a protein boost for energy and muscle support.
- Calcium-Rich – Cheddar cheese is a great source of calcium for strong bones.
- Easy to Customize – You can add veggies, sauces, or different cheeses to fit your diet.
🍷 Suggested Drink That Pairs With The Dish
Best Drink Pairing: Crisp Apple Cider
Why? The sweet and slightly tart flavors of apple cider balance the savory cheddar and smoky BBQ chicken beautifully. If you prefer a non-alcoholic option, sparkling lemonade is a refreshing choice!
❤️ Enjoy!
These Shredded Chicken and Cheddar Sliders are a simple yet flavorful meal that’s perfect for any occasion. Whether you’re making them for game night, a family dinner, or a quick weeknight meal, they’re guaranteed to be a crowd favorite.
Give them a try and let me know how they turn out! Happy cooking! 🍔✨