Pierogi Recipe – These Delightful Dumplings
Introduction to My Classic Pierogi Recipe
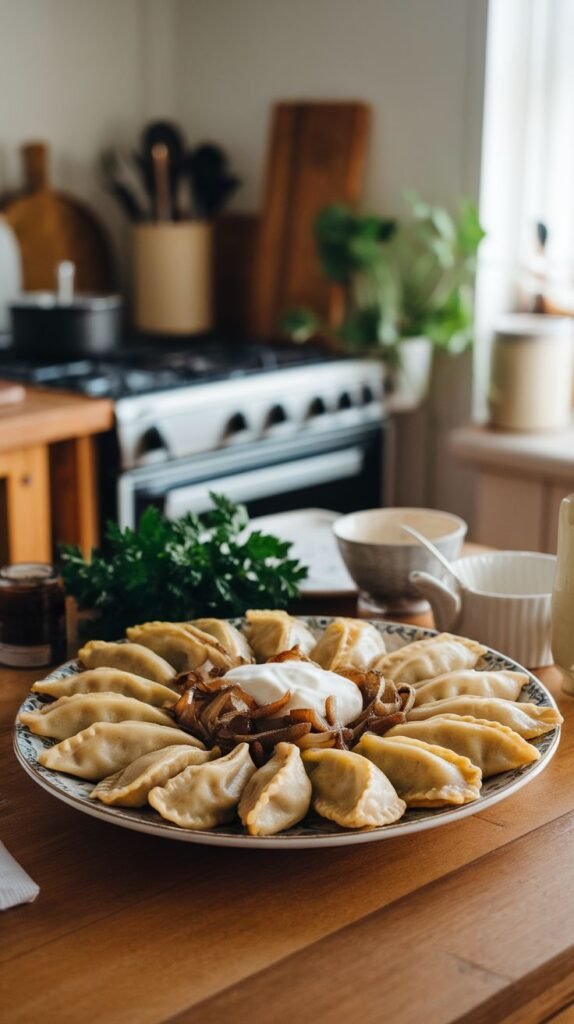
Pierogi are a labor of love that bring the taste of tradition right to your table. These delightful dumplings, originating from Poland, are a true crowd-pleaser and a staple in Polish pierogi recipes. Whether you’re trying your hand at a homemade pierogi recipe for the first time or you’re a seasoned cook seeking easy pierogi filling ideas, this guide will help you create an authentic and classic pierogi recipe. I’ve poured years of experience into perfecting a traditional pierogi dough and a savory cheese and potato pierogi filling that even kids adore. So let’s roll up our sleeves and dive into this savory pierogi recipe together!
Preparation Details
| Preparation Time | Total Cooking Time | Number of People |
|---|---|---|
| 45 minutes | 1 hour 30 minutes | 6 servings |
Ingredients for My Classic Pierogi Recipe
For the Traditional Pierogi Dough:
- 2 cups all-purpose flour, plus extra for dusting
- ½ teaspoon salt
- 1 large egg
- ½ cup sour cream
- ¼ cup unsalted butter, melted
For the Cheese and Potato Filling:
- 2 cups mashed potatoes (made fresh or from leftovers)
- 1 cup sharp cheddar cheese, shredded
- ½ teaspoon onion powder
- Salt and pepper to taste
For Cooking:
- 4 tablespoons unsalted butter
- 1 medium onion, finely diced

Pro Tips for Success
- Keep the Dough Moist: Traditional pierogi dough should be soft and pliable but not sticky. If it feels too dry, add a teaspoon of water at a time.
- Chill for Ease: After kneading, let the dough rest for 30 minutes to make rolling out easier.
- Seal Perfectly: Pinch the edges firmly to avoid leaks during cooking.
- Pre-Cook the Filling: Using pre-cooked potatoes ensures the filling won’t be underdone.
- Avoid Overcrowding: When boiling pierogi, cook in small batches to prevent sticking.
Tools Required
- Large mixing bowl
- Rolling pin
- Dough cutter or knife
- Medium saucepan
- Frying pan
- Slotted spoon
Substitutions and Variations
| Substitution | Original Ingredient | New Flavor Profile |
|---|---|---|
| Greek yogurt | Sour cream | Slightly tangy and lighter |
| Ricotta cheese | Sharp cheddar cheese | Creamy and mild |
| Whole wheat flour | All-purpose flour | Nutty and hearty |
| Garlic powder | Onion powder | Subtly sweet and aromatic |
| Bacon bits (optional) | Caramelized onions | Smoky and savory |
Make-Ahead Tips
- Dough: Prepare and refrigerate the dough up to 24 hours in advance.
- Filling: The cheese and potato filling can be made a day ahead and stored in an airtight container.
- Freezing Pierogi: Assemble and freeze uncooked pierogi on a baking sheet before transferring to a freezer bag.
Step-by-Step Instructions for a Perfect Pierogi Recipe
Step 1: Make the Dough
In a large mixing bowl, whisk together the flour and salt. Add the egg, sour cream, and melted butter. Mix until a rough dough forms, then knead on a floured surface for 5-7 minutes until smooth.

Step 2: Prepare the Filling
In a medium bowl, mix mashed potatoes, cheddar cheese, onion powder, salt, and pepper. Taste and adjust seasoning.

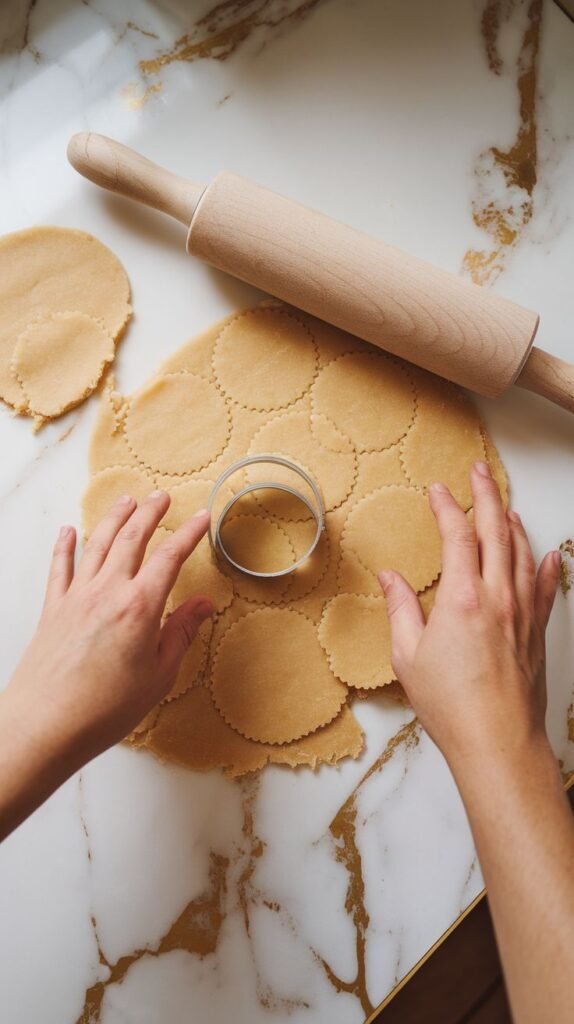
Step 3: Roll Out and Cut the Dough
Roll out the dough to ⅛ inch thickness on a floured surface. Use a dough cutter or glass to cut 3-inch circles.
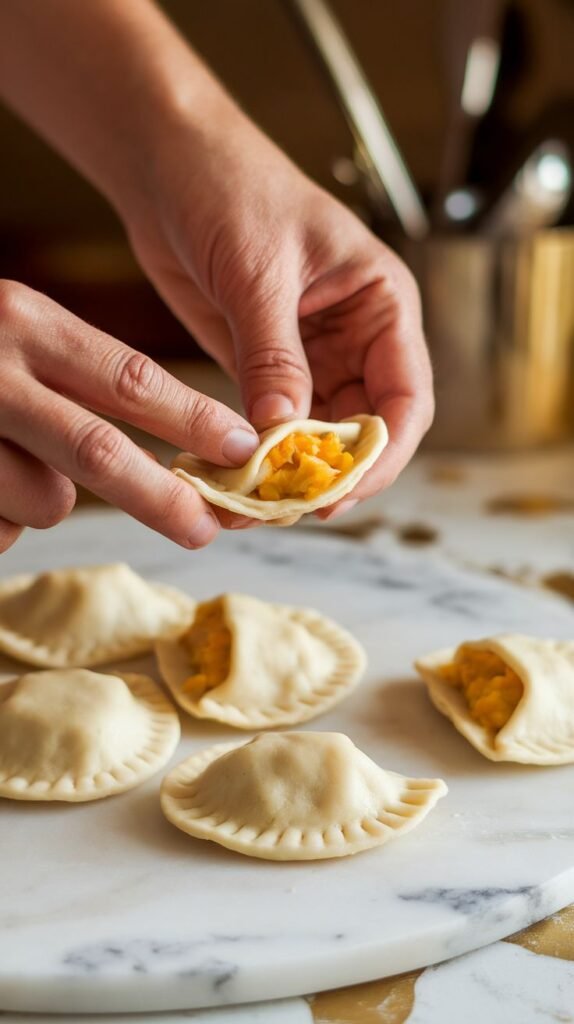
Step 4: Fill and Seal Pierogi
Place a spoonful of filling in the center of each circle. Fold the dough over to form a half-moon shape and pinch the edges tightly.
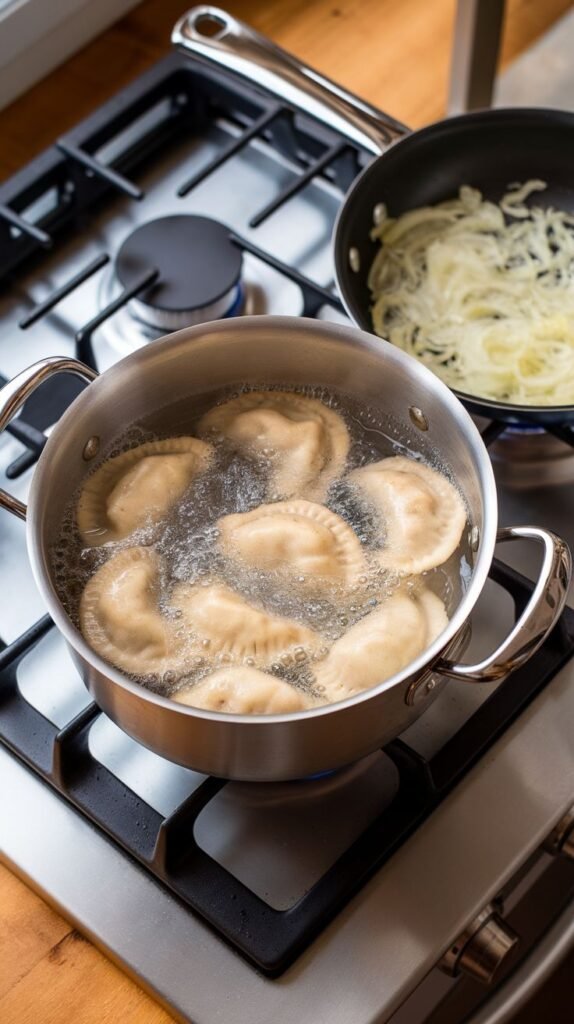
Step 5: Cook the Pierogi
Boil the pierogi in salted water until they float (about 3-4 minutes). Meanwhile, sauté diced onion in butter until golden. Toss the boiled pierogi in the pan to coat.
Serving Suggestions for Pierogi
| Pairing Option | Description |
|---|---|
| Sour cream and chives | Adds creaminess and fresh herb flavor |
| Side of sauerkraut | Tangy contrast to the savory pierogi |
| Fresh garden salad | Lightens the meal with a crisp, fresh touch |
Tips for Leftovers and Storage
- Refrigerate: Store cooked pierogi in an airtight container for up to 3 days.
- Reheat: Pan-fry in butter to bring back crispiness.
- Freeze: Freeze uncooked pierogi for up to 3 months; boil straight from frozen.
Nutritional Information and Benefits of This Dish
- Calories: Approximately 220 per serving
- Protein: High, thanks to the cheese filling
- Carbohydrates: Provides energy, especially for active families
- Calcium: A good source from the cheese
Suggested Drink That Pairs with This Dish
Pair your pierogi with a chilled glass of Riesling wine. Its light sweetness complements the savory and buttery flavors of the pierogi while cutting through the richness of the cheese and potatoes. For a non-alcoholic option, try sparkling apple cider for a similar effect.
Enjoy
There’s nothing quite like the joy of biting into a perfectly made pierogi, with its soft dough and savory filling. This recipe is a true celebration of tradition and comfort, perfect for family dinners or special occasions. I hope this guide inspires you to embrace the magic of homemade pierogi. Share your success stories and tweaks — I can’t wait to hear how your authentic pierogi recipe turned out!